
WordPress powers over 43% of the web, from personal blogs to massive e-commerce stores running WooCommerce. But if you're a WordPress site owner, you're likely facing a major challenge: ad blockers and privacy tools are making your analytics unreliable, hiding anywhere from 15% to 50% of your user data.
At DataUnlocker, our mission is to give you back that 100% accurate view of your audience.
While we've always supported WordPress as well as other CMS with universal integration, today we're making it much easier with the release of our new analytics protection plugin for WordPress websites!
The Universal Solution, Now Simplified for WordPress
From day one, DataUnlocker 2.0 was built to be platform-agnostic. Whether you're using a modern framework like React or Angular, or a CMS like WordPress, our core technology, DataUnlocker Defender, can be integrated to make your analytics "unwirable."
For platforms without native NPM support, we've offered a Universal JavaScript File Patching tool. This allowed you to take any critical JS file from your site, upload it to the DataUnlocker Admin UI (or use our CLI tool), and receive a patched version with Defender embedded.
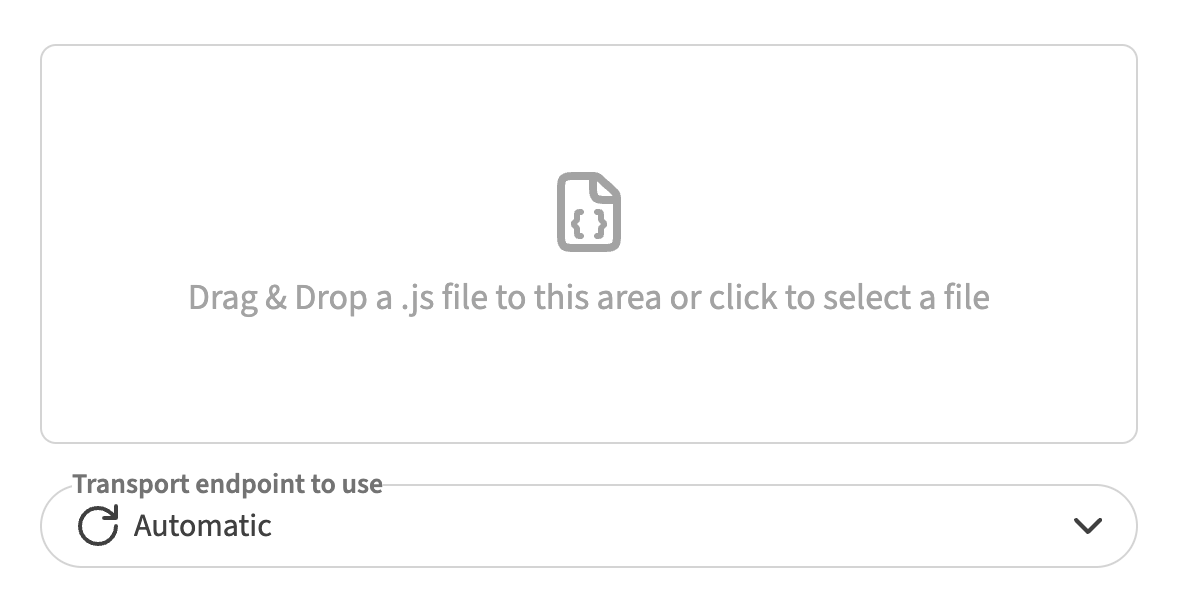
This method is powerful and works for any website, but it requires manual steps. You had to identify a file, patch it, and replace it on your server.
With our new WordPress plugin, we've automated this entire process and brought it directly into your WordPress dashboard.
Introducing: The DataUnlocker WordPress Plugin
The new plugin is a simple wrapper around our universal patching technology, tailored for WordPress sites. It eliminates the need for manual file patching or command-line tools, providing a user-friendly interface in the familiar Wordpress Admin Dashboard.
Key benefits:
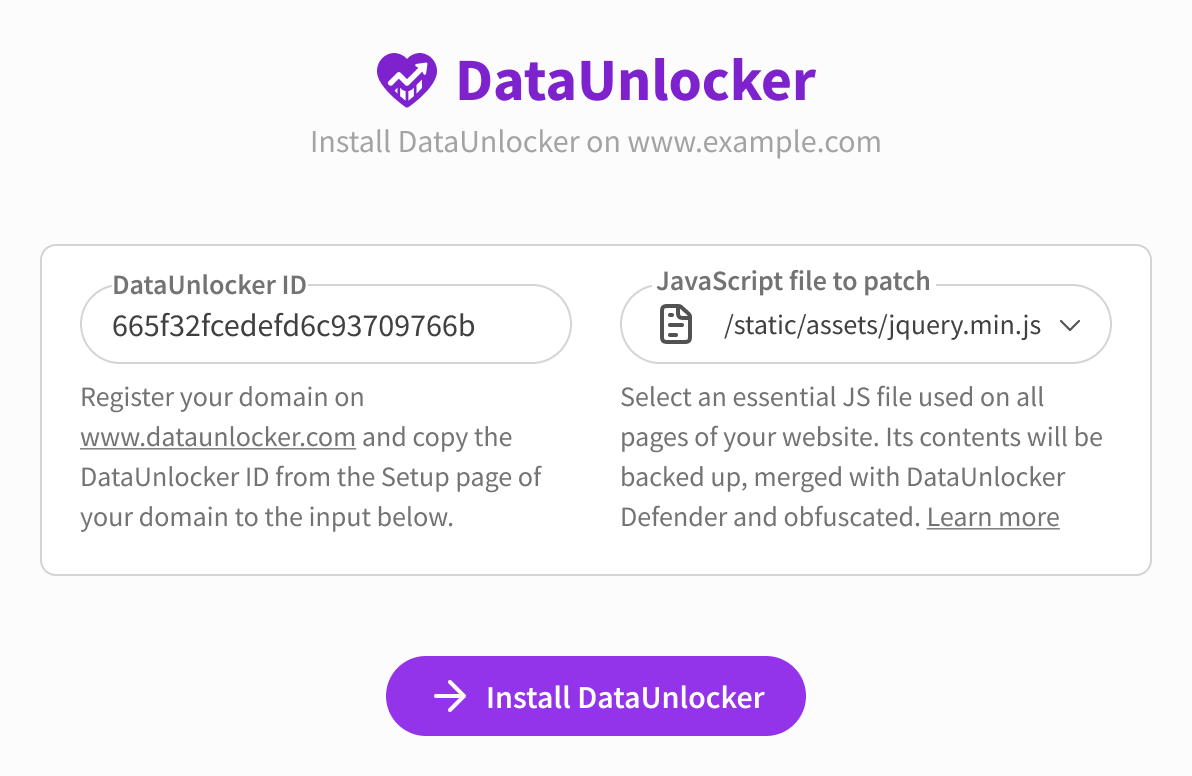
- One-Click Installation: Install Defender by patching a JavaScript file directly from your WP Admin. However, you still need to copy
DATAUNLOCKER_IDand select the file you want to patch from the dropdown, but just once. - Seamless Integration: The plugin automatically scans for JavaScript files from your other installed plugins, suggesting possible candidates for patching.
- Easy Management: View installation status, apply the patch or revert changes anytime, all within WordPress.
- Full Protection: Once installed, your site benefits from the complete DataUnlocker feature set, including Network Protection, Secure Enclave, and real-time filter list monitoring.
How to Install and Configure
Getting started is a straightforward process after you've added the Transport Endpoint to your website, which you can learn about here or here.
Once the Transport Endpoint is ready, you'd need to install DataUnlocker Defender. Now, you can select "Wordpress" from the front end stack list.

Step 1: Install the Plugin and Add Your ID
First, get the DataUnlocker for WordPress plugin from the official WordPress Plugin Directory and install it on your site.
Once activated, you'll be prompted to enter your DATAUNLOCKER_ID. You can get this ID from the DataUnlocker Admin panel after adding your domain, or your instructions. This unique ID links your WordPress site to your DataUnlocker configuration.
Step 2: Choose a JavaScript File to Patch
Next, you need to select a JavaScript file to patch with DataUnlocker Defender. The plugin will automatically list JS files from other active plugins on your site.
For Defender to be effective, it needs to be embedded in a mission-critical file—one that is essential for your site's functionality. This ensures that an ad blocker cannot simply remove Defender without breaking the user experience, which is the core of our protection strategy. A file from a popular, essential plugin is often a good choice.
The original file will be safely disabled, and the new, patched version will be served in its place.
What if no files are listed? If the dropdown is empty, it may mean you have no other plugins with suitable JavaScript files. In this case, you can still use the universal JS patching method to patch a theme file or even an empty JS file you create.
Step 3: Install and Verify
Click "Install" to patch the selected file. The plugin will handle the rest. Your site is now protected!
You can verify the installation in your DataUnlocker Admin dashboard, where the health status for your domain should turn green. From there, you can proceed to configure Network Protection to start proxying and protecting your analytics and marketing tools like Google Analytics, GTM, and Meta Pixel.
Get 100% Accurate Analytics on WordPress Today
Install the plugin, connect your site, and start seeing the full picture of your audience today.
Your frontend's guardian,
DataUnlocker